



 Cihat Murat Yüksel
7 min read
Cihat Murat Yüksel
7 min read
AI photo editing: remove backgrounds, sharpen and expand photos
We remove backgrounds, expand the frame and fix sharpness in product photos. How do we keep the product’s true look in Photoshop, Canva, ChatGPT and Gemini?Pro
Contents 9 sections
AI photo editing is removing the background, adding or erasing objects, expanding the frame, raising resolution and correcting light in an existing image with AI-powered tools. Photoshop’s is one of these methods.
We first define what will change. The table behind a mug goes; its handle, lettering and ceramic texture stay as our reference. We start from the original photo and compare the product with it after every edit. We never trade the product’s accuracy for a scene we like.
When a product photo is edited, the background and lighting are changed; the product’s true color, shape and lettering are preserved.
What is AI photo editing?
AI photo editing is changing selected areas or the image quality of an existing photo with AI tools. We pick the operation by need and never regenerate the whole product to fix a background; several needs are handled separately.
What we edit leads to one of three cases:
- Changing the background → We remove the backdrop, place the product on plain white and check its edges separately.
- Filling a missing area → We fill space outside the frame by expanding, and use Generative Fill to add or remove content in a selection.
- Fixing image quality → We assess sharpening and light correction while keeping the product’s texture and true color.
We choose the tool after this split: an ad needing space around the product and a marketplace image on white need different edits. First we decide where the photo will be used.
How do you remove the background from a photo?
A photo’s background is separated from the product with Photoshop’s Remove Background action or Canva’s Background Remover. We save the original first, then place the result on white and check around the product.
The gap inside the handle matters as much as the outline; leftover backdrop there means a selection fix. On thin, transparent edges such as glass, we keep the original at hand so nothing of the product is erased. A jagged edge is fixed by hand, not by reprocessing the whole photo.
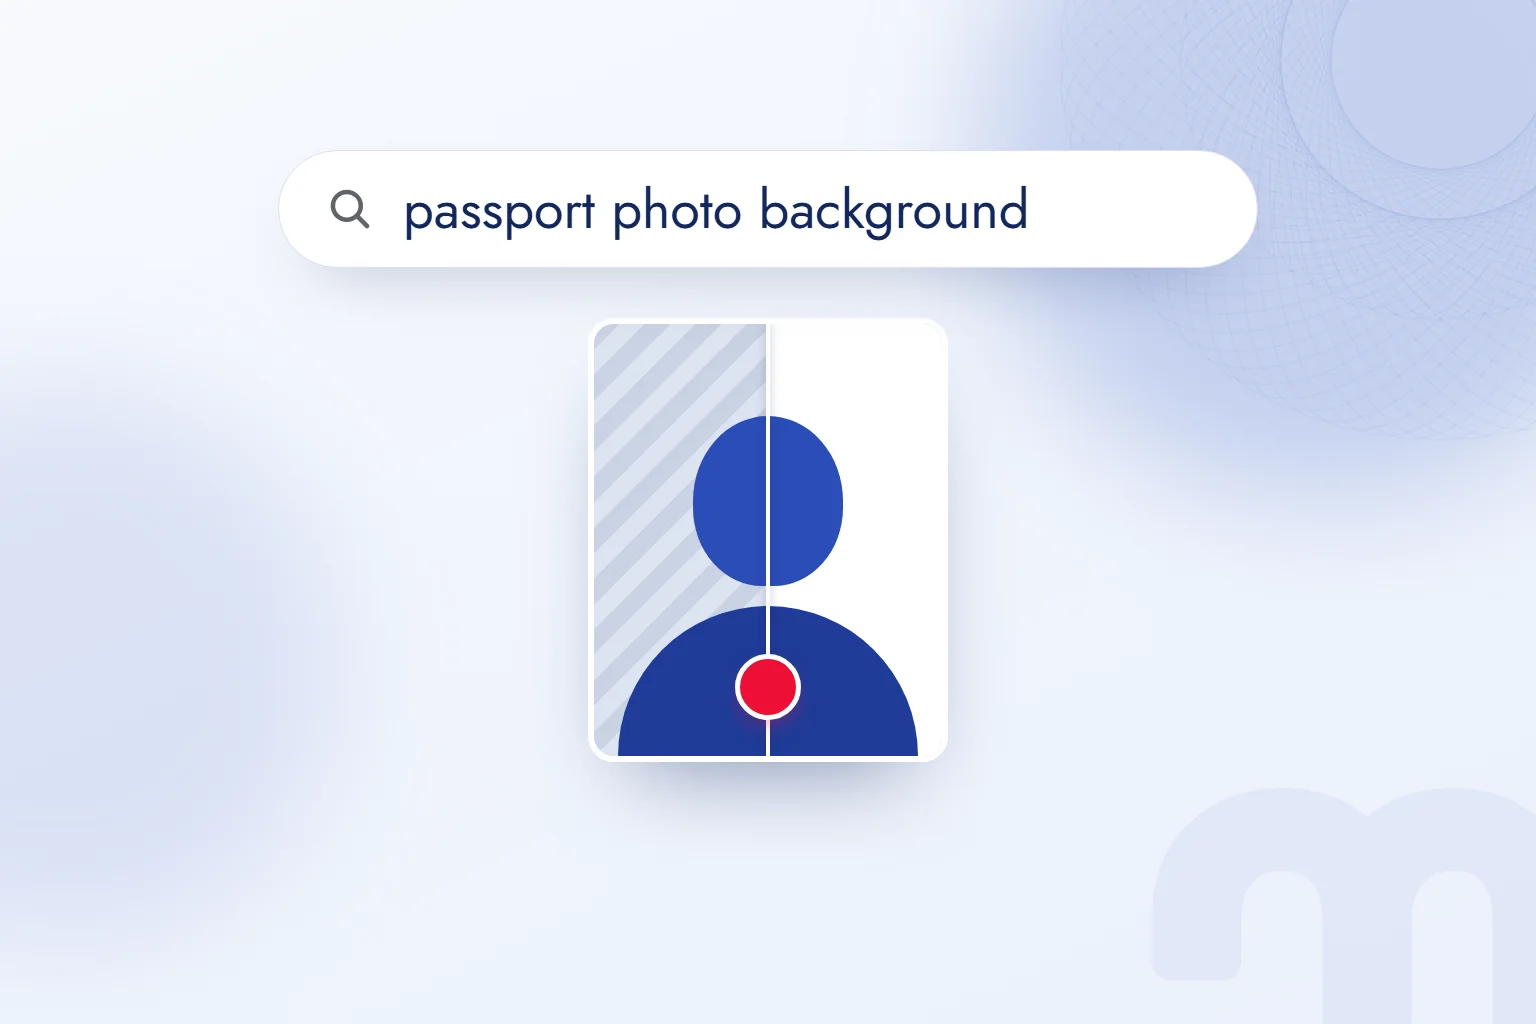
Changing a passport photo background is technically the same: we select the backdrop and compare the face and hair with the original. For an official biometric photo, the issuing authority sets the background color and accepted edits; we check its guidance.
Removing the whole table is a background job; removing an unrelated object on it is a selection edit. We check that no packaging or included part was erased.

How do you use Generative Fill and Generative Expand in Photoshop?
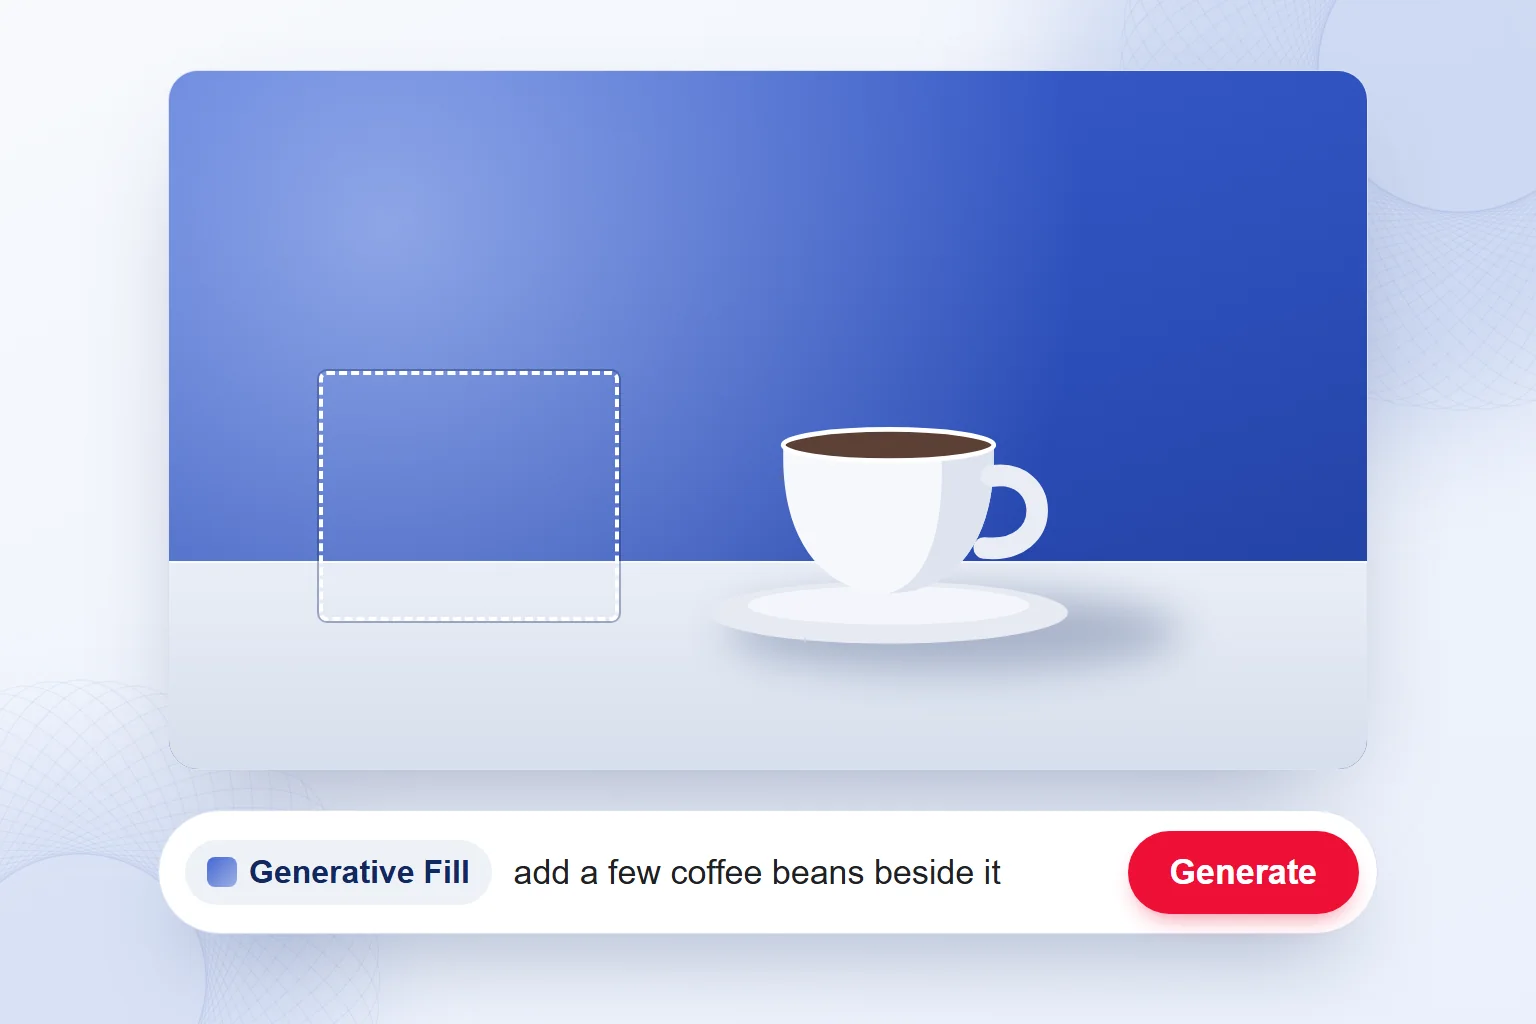
In Photoshop, Generative Fill edits a selected area from a written prompt, while Generative Expand fills the edges of an enlarged canvas. Both run on Adobe Firefly. We select the area to change and keep the product outside the selection.
To add coffee beans beside the mug, for example, we select only that space and type “add a few coffee beans beside it.” We check that the beans do not cover the product, that light and shadows match, and that they cannot be mistaken for part of what is sold.
For expansion, we enlarge the canvas to the frame we need, then inspect the table line and shadows on the filled edges. If part of the product is missing, we do not treat the tool’s guess as real detail; we decide on a reshoot here.
Adobe attaches to content made with Firefly. They do not show that the mug’s lettering or shape stayed correct, so we still check the product.
How do you edit photos with Canva, ChatGPT and Gemini?
In Canva we pick the right editing tool; in ChatGPT and Gemini we upload the photo and describe the change in a prompt. Canva offers Background Remover, Magic Eraser, Magic Edit and Magic Expand; some are on paid plans. We check access to the feature before starting.
Our sample prompt for ChatGPT and Gemini: “Keep the color, shape, logo and lettering of the uploaded product. Only make the background plain white. Do not add or remove parts.” Asking is not verification; we compare these details with the original.
| Task | Tool | What we check |
|---|---|---|
| Background removal | Photoshop, Canva | Product edges and transparent areas |
| Object removal | Photoshop Generative Fill, Canva Magic Eraser | Parts that belong to the product stay |
| Expansion | Photoshop Generative Expand, Canva Magic Expand | Light and background match at the edges |
| Sharpening | AI-powered upscaler | Predicted detail against the real product |
| Light correction | AI-powered photo editor | The product’s true color |
For detailed prompts, we use the method in our ChatGPT image prompts article, judging every change against the original frame.
How do you sharpen a photo with AI?
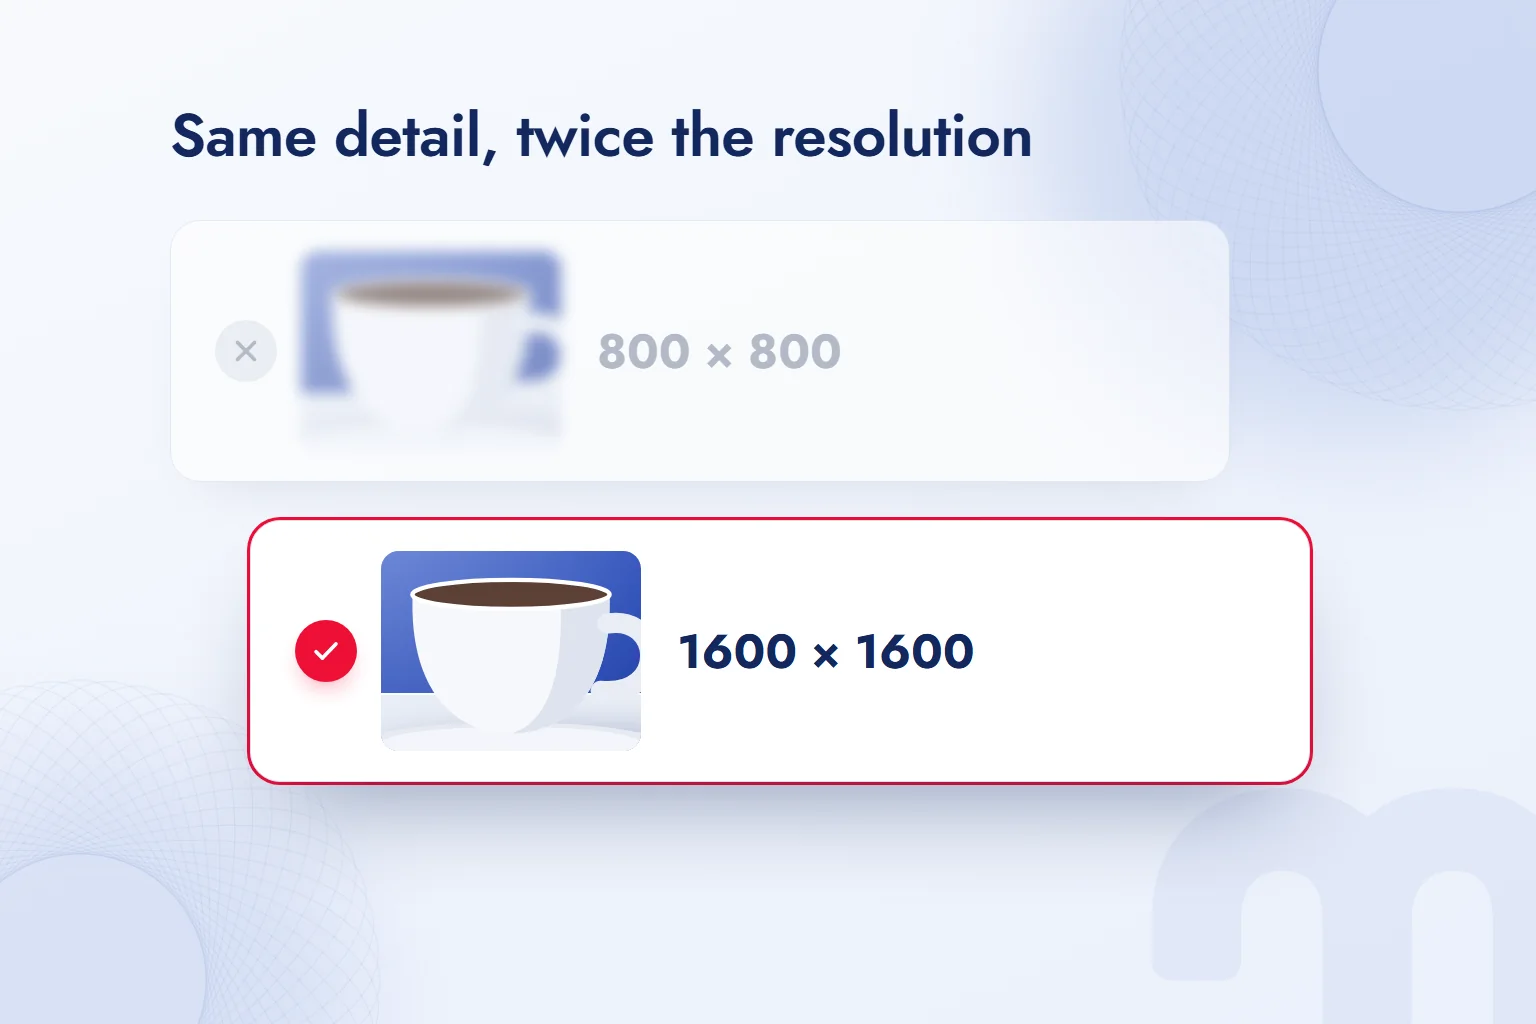
AI photo sharpening works by an upscaling tool predicting missing detail and producing a larger image. We do not judge the result by sharpness alone; we check the product’s real texture and lettering.
Even if faded lettering looks legible afterwards, we compare the letters and the ceramic texture with the original product. Predicted detail is never a product feature. If a letter changed, readability does not save the result; in the reshoot we make that detail visible.
We do not expect print quality from enlarging a tiny or very blurry photo; if we can reach the product, we reshoot. In light correction, we reject a result showing the product lighter, darker or in another color. If distinctive features change as sharpness rises, we undo the edit.
What matters in an ecommerce product photo?
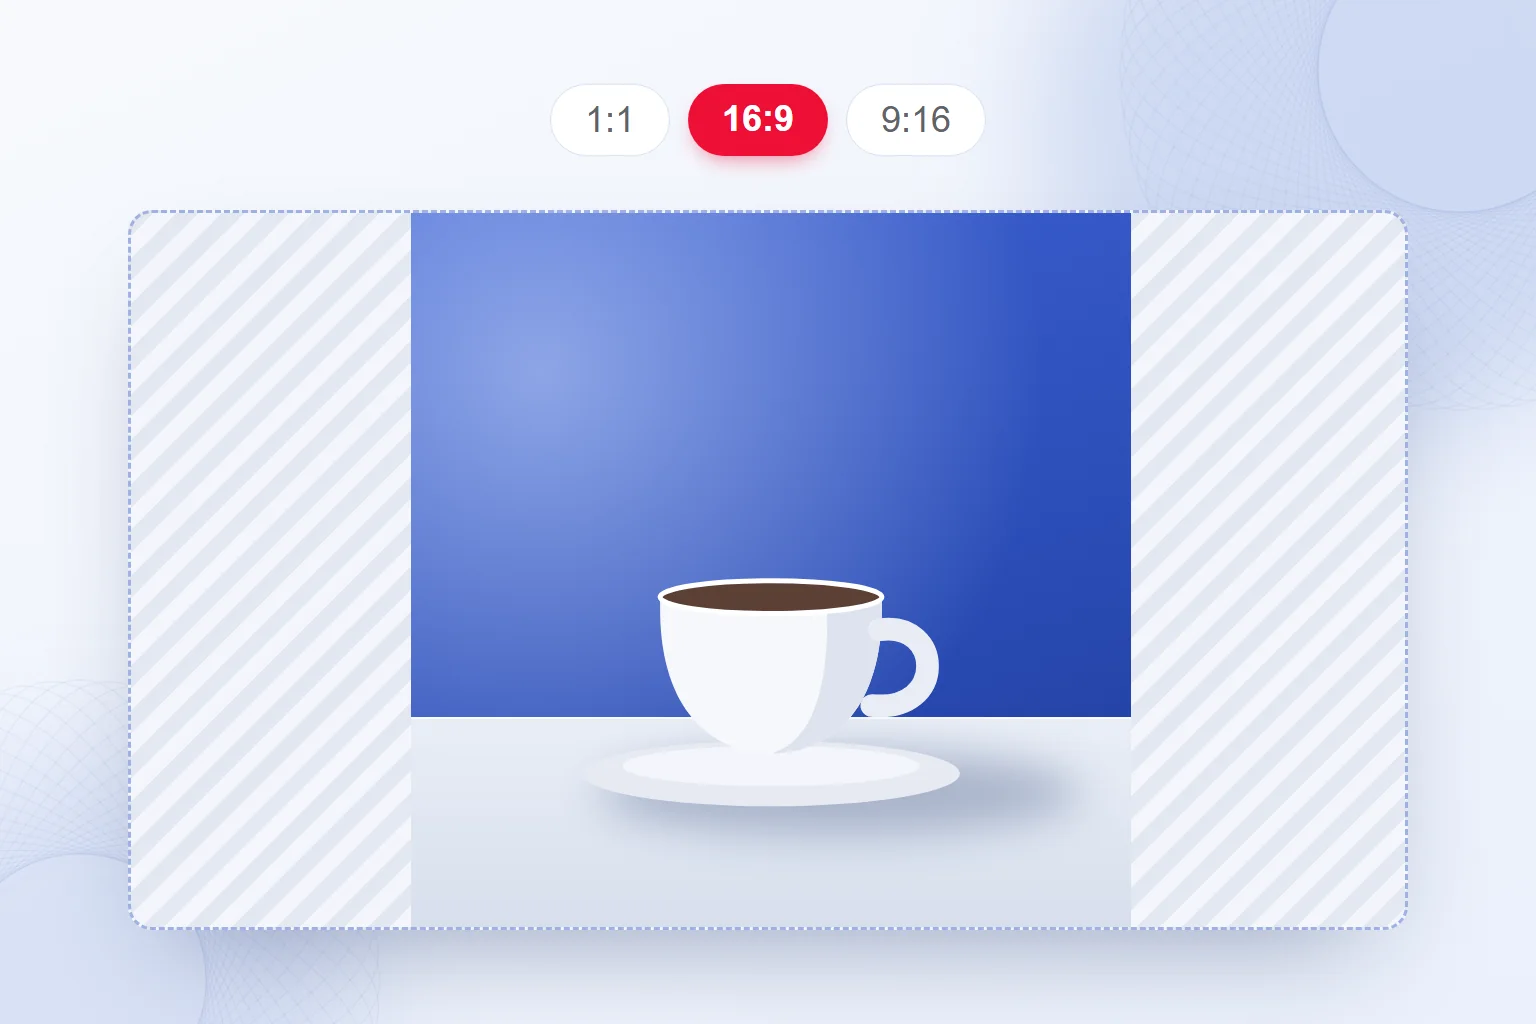
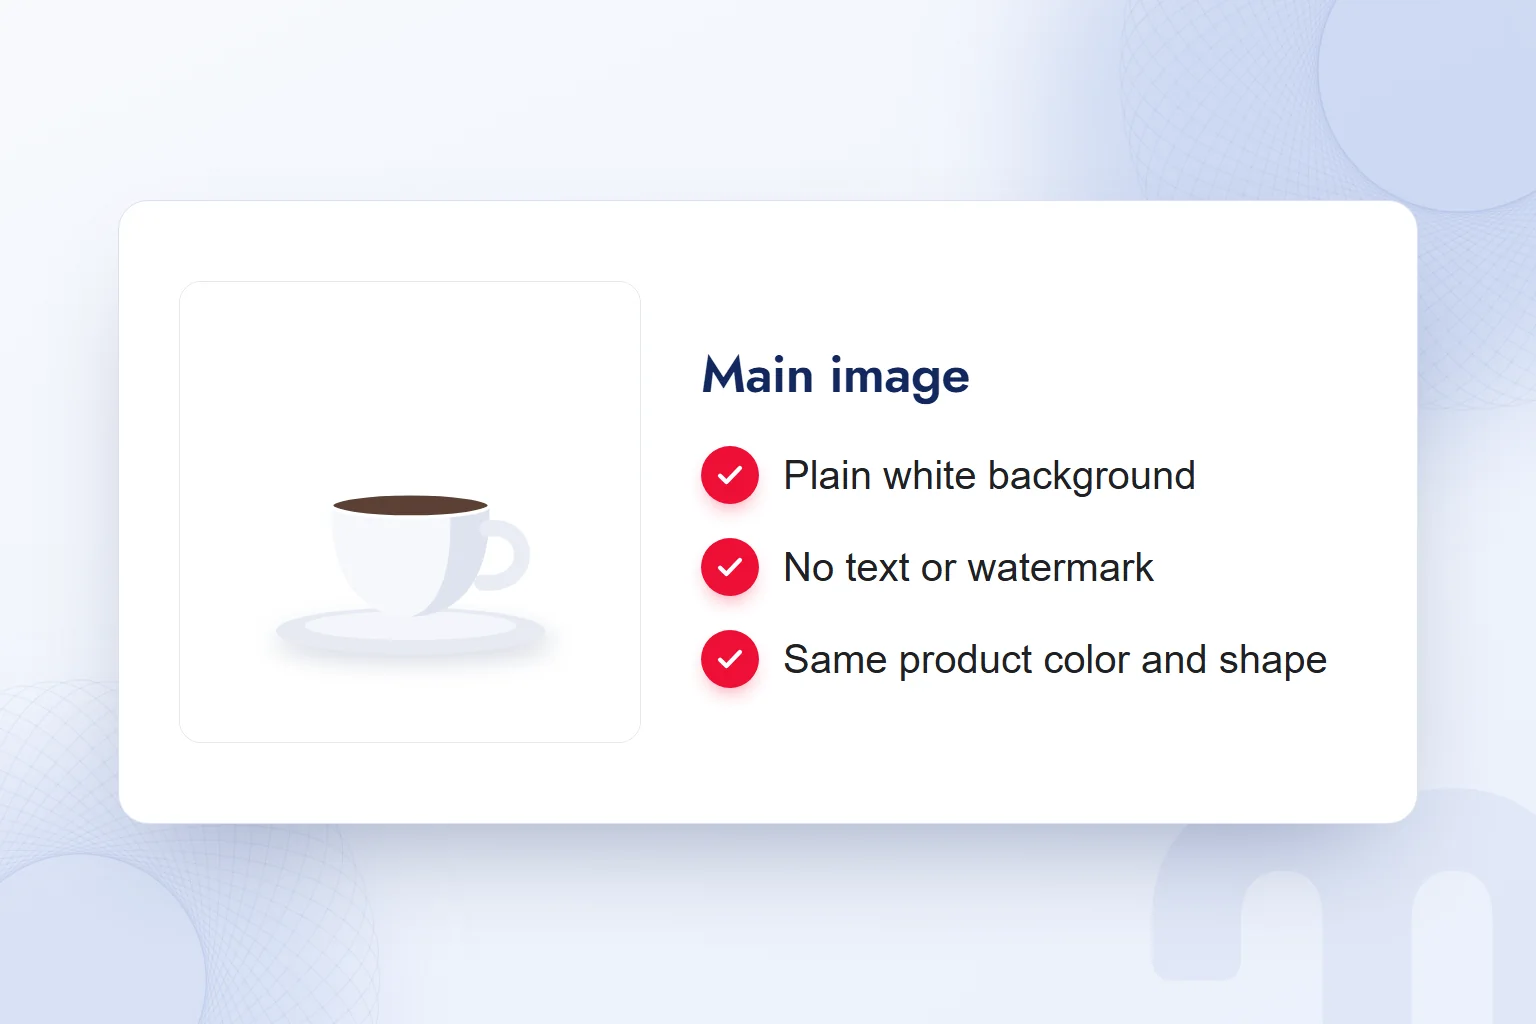
In an ecommerce product photo, we check the product’s true look, what the sale includes and the platform’s image rules together. Most marketplaces want plain white in the main image; we read each one’s guidelines. Google Merchant Center does not accept promotional text, a or edits that misrepresent the product in product images.
Our order for editing a product photo:
- We choose the sourceWe take a photo showing the whole product and keep the original for comparison.
- We set the useWe pick the main image or ad placement and check its image guidelines.
- We edit the backgroundWe remove or replace it and check the product’s thin edges by hand.
- We complete the frameIf needed, we expand the surroundings and keep the product’s shape.
- We fix light and sharpnessWe apply what is needed and inspect color and texture changes.
- We verify the resultWe compare lettering, logo, shape and included parts with the real product.
Editing starts with a good product shoot. We use daylight or soft light, a simple background, a fixed angle and enough resolution. We check lettering, texture and edges while shooting, so no gaps are left for guesswork. AI editing does not replace a good shoot.
In our ecommerce marketing work, we assess the image together with the sales page. The quantity, color and parts in the photo must match the product sold.
When does editing become misleading?
Editing becomes misleading when it changes the product’s true color, size or contents, even when only the background was meant to change. If an object added beside the mug looks like part of the set being sold, we rework the scene.
We decide by the buyer’s expectation: is the pictured product the one delivered? Are the lettering, color and number of parts unchanged? An image that fails is not used. Ad policies reject misleading images; a white background or high resolution does not make a changed product acceptable.
What are the most common photo editing mistakes?
The most common photo editing mistakes are broken edges, an unnoticed product change, and mismatched light and shadow. We fix each where the error is.
The next step depends on the case:
- Jagged edges → We fix the selection by hand and compare lost detail on thin edges such as hair and glass with the original.
- The product changed → If lettering, logo or color changed, we return to the original and edit only the background with a mask.
- The image looks artificial → We inspect light direction and shadows, and fix the edit that detaches the product from the scene.
In the final check we look at the product first, then the background, and never cover a damaged detail with new edits; we return to the source photo. Crop sizes for an edited product photo are in our Instagram post size article. Our production and review methods are in our AI articles.
Frequently asked questions
What is AI photo editing used for?
Removing backgrounds, adding or erasing objects, expanding, sharpening and correcting light in an existing photo. For product photos, we compare the result with the real product.
Which tool removes a photo’s background?
We use Photoshop’s Remove Background action or Canva’s Background Remover, then check thin edges and gaps inside the product.
Are Canva’s AI tools free?
Some of Canva’s AI tools are on paid plans. We check our account’s access to a feature before starting.
Do ChatGPT and Gemini keep the product’s logo?
Lettering, logo, color and shape may change. We name the details to keep in the prompt and verify the result against the original photo.
Can AI sharpen a very blurry photo?
A sharpening tool predicts missing detail; we verify the real texture and lettering. We do not expect print quality from a tiny or very blurry image; we reshoot when we can.
Is a white background required for a marketplace main image?
Most marketplaces ask for plain white; we check the exact rule in that marketplace’s image guidelines. We always keep the product’s true color, shape and contents.

 What is Gemini? How to use it, the free plan, Gemini Omni and ChatGPTRead article
 What is Google AI Studio? Free use, API keys and your first projectRead article
 What is ChatGPT and how do you use it? Free version, plans, safetyRead article
 What can you do with ChatGPT? Free plan marketing examplesRead article
 What is MCP? Connecting AI to your data with Model Context ProtocolRead article
 What is superintelligence? From AI to SI and what it means for brandsRead article
 What is vibe coding? First prototypes, tools and limits for marketersRead article
 What is NotebookLM? Now Gemini Notebook, used with brand documentsRead article
Questions & answers
0 commentsNo questions yet; you can ask the first one.